

How to Calibrate Coffee Grinder Settings for Better Shots
Last Updated: November 15, 2026
Quick Summary
To calibrate coffee grinder settings, find the zero point where the burrs just barely touch, then back off two to three clicks and note that number as your reference. From there, adjust one click at a time and pull test shots until the taste is balanced.
- Empty the hopper and unplug the machine before reaching into the burr chamber.
- Stop the instant you hear a light chirp, then back off two to three clicks.
- Hold dose, yield, basket and tamp fixed during every espresso test session.
- Recheck your zero point every few months, or monthly for busy home setups.
- Purge a few grams before each test shot so retained grounds do not skew results.
Table of Contents
- Why Grinder Calibration Decides What Ends Up in Your Cup
- Finding the Zero Point and Burr Touch Point Safely
- Adjusting the Calibration Screw or Collar on Common Burr Grinders
- How to Calibrate Coffee Grinder Settings for Espresso
- Coffee Grinder Calibration for Pour-Over and Other Brew Methods
- How Often to Calibrate a Coffee Grinder (and When to Recheck)
- Troubleshooting Grind Problems After Calibration
- Pairing a Calibrated Grinder With Fresh Fairwood Coffee
- Frequently Asked Questions
Why Grinder Calibration Decides What Ends Up in Your Cup
A grinder that is out of calibration will undo every good habit you have. You can buy fresh beans, weigh every dose, and still pull a sour, thin shot. The problem is not your technique.
Grinder calibration is the process of setting a reference point on your grinder so that a given setting number always produces the same grind size. Without that reference, "setting 8" means nothing.
Here is the part most guides skip. Burrs shift as they wear, as coffee dust builds up, and after every deep clean.
Below, we walk through the full process: finding the zero point, adjusting the collar, and dialing in for espresso and other brew methods.
The payoff is simple. Once your grinder is calibrated, every adjustment you make actually means something.
Finding the Zero Point and Burr Touch Point Safely
The zero point is the setting where the two burrs just barely touch, with no beans in the chamber. The burr touch point is the moment you hear or feel that contact. Every useful grind setting is measured from this reference.
Before you start, know which kind of adjustment your grinder allows. There are two levels, and confusing them is how people damage burrs:
- User-level calibration: the numbered collar, ring, or dial you turn every day. This is safe to explore within the range the manufacturer documents.
- Service-level adjustment: a calibration screw, shim stack, or burr-carrier reset that changes the physical relationship between the burrs. On many grinders this is intended for a technician or for after a burr replacement. If your manual does not describe a user calibration screw, assume you do not have one.
Watch out: never loosen a calibration screw or remove a burr carrier on a grinder whose manual does not explicitly walk you through it.
Find the touch point the safe way, in order:
- Empty the hopper completely. Run the grinder until no grounds come out, then brush the chute.
- Unplug the machine before you reach into the burr chamber.
- Set the adjustment collar to its coarsest position.
- Plug back in, turn the grinder on, and slowly turn the collar toward fine.
- Stop the instant you hear a light chirp or feel resistance. That is the touch point.
- Back the collar off two to three clicks so the burrs are no longer in contact, then note the number.
A common pattern is that the chirp is quieter than people expect. Listen with the motor running and the hopper empty, and turn in small increments rather than sweeping the collar.
Watch out: never force the collar past the chirp with the motor running. You can dull the burr edges or damage the adjustment thread. If the collar jams, unplug the grinder, clean the chamber, and start again from coarse.
Once you have the touch point, verify it. Run the grinder at the touch setting with no beans for a second, then back off and confirm the chirp disappears. Write down the number or notch where contact happened.
Specialty Coffee Association guidance on grinder setup and extraction
Adjusting the Calibration Screw or Collar on Common Burr Grinders
Most burr grinders give you two ways to shift the grind range: a calibration screw on the burr carrier, or a numbered adjustment collar on the top. The collar is the everyday control. The screw is the reset.
Here is how we would approach each:
- Adjustment collar: turn it one click or notch at a time. One click on most grinders moves the grind a small, predictable amount.
- Calibration screw: loosen it slightly, rotate the burr carrier to reset the range, then tighten. Do this only after a deep clean or a burr swap.
- Stepped grinders: you are limited to clicks. Work within them.
- Stepless grinders: mark the collar with tape so you can return to a setting you liked.
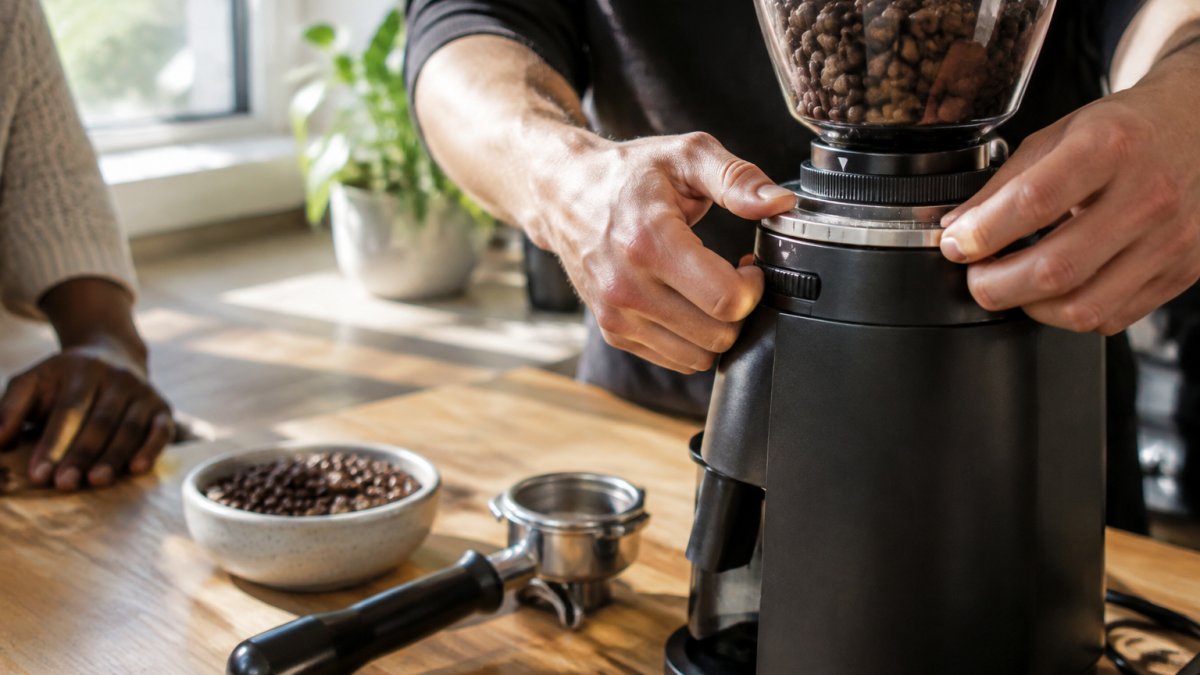
A common mistake is adjusting the collar while the grinder is off and full of beans. Always run the motor when moving finer, so beans do not jam the burrs.
How to Calibrate Coffee Grinder Settings for Espresso
To calibrate coffee grinder settings for espresso, start from your zero point, set a middle-fine grind, and pull a test shot under controlled conditions. Then adjust in small steps until the shot tastes balanced. Espresso is unforgiving: small grind changes swing the shot time a lot, so the goal is a repeatable test, not a lucky shot.
Set up a standardized test protocol
Change one variable at a time, or you will chase your own tail. Hold these fixed for the whole session:
- Dose: weigh the same amount into the basket every time, to the tenth of a gram.
- Yield: stop the shot at the same output weight, not the same time.
- Basket and tamper: use the same basket and level and tamp the same way.
- Purge: run a few grams through the chute before each test shot so retained grounds do not skew the result.
A simple log makes the session repeatable. Note the grind setting, dose, yield, shot time, and a one-word taste note for each attempt. After a few shots you will see the pattern instead of guessing.
Run the adjustment loop
- Dose a consistent weight into the basket, level it, and tamp evenly.
- Pull a test shot and note the time and yield.
- Taste it. Sour and fast means grind finer. Bitter and slow means grind coarser.
- Move one click, purge a few grams, and pull again.
- Repeat until the shot tastes sweet and balanced.
Use a troubleshooting decision tree
When a shot runs wrong, work through the likely cause in order rather than jumping straight to the grind:
- Shot runs fast and tastes sour: grind finer, one click at a time. If three clicks do not move the time, check dose and puck prep before going further.
- Shot runs slow and tastes bitter: grind coarser. If it still chokes, reduce dose slightly before grinding much coarser.
- Shot time is right but taste is flat or hollow: check bean freshness and water before assuming the grind is wrong.
- Shot channels or sprays: fix distribution and tamp first; grind changes will not cure channeling.
- Same setting gives a different result: purge retained grounds from the chute and confirm your dose weight.
Retention matters more than most people think. A few grams of stale grounds left in the chute will skew your next shot, which is why purging before each test is part of the protocol rather than an optional step.
If you are weighing whether your current machine can keep up, our guide to smart alternatives to expensive espresso machines at home covers options that pair well with a well-calibrated grinder.
Coffee Grinder Calibration for Pour-Over and Other Brew Methods
Espresso is not the only method that benefits. Coffee grinder calibration for pour-over, French press, and drip follows the same logic: set a reference, then adjust to taste.
The target grind is different for each method:
| Brew Method | Grind Target | First Adjustment If It Tastes Wrong |
|---|---|---|
| Espresso | Fine, like powdered sugar | Finer if sour, coarser if bitter |
| Pour-over | Medium, like table salt | Finer for more body, coarser for clarity |
| Drip machine | Medium-coarse | Coarser if the bed clogs |
| French press | Coarse, like breadcrumbs | Coarser if the press feels sludgy |
For pour-over, watch your drawdown time. If the water stalls, go coarser. If it races through and tastes thin, go finer.
Once the grind is dialed in for your method, the next variable is the bean. Our roundup of the best coffee roasts for espresso beginners helps you pick a roast that suits your setup.
How Often to Calibrate a Coffee Grinder (and When to Recheck)
Recheck your zero point every few months, and any time the grinder has been cleaned, moved, or had its burrs replaced. For busy home setups, a quick check once a month keeps you honest.
Recheck sooner if you notice:
- Shots suddenly running fast or slow with no other change
- The same setting tasting different from last week
- A new bag of beans behaving oddly
- Grind consistency dropping, with fines clumping
Burr wear is real. As burrs dull, the particle-size distribution widens, and you will need to grind finer to hit the same shot time. That drift is your signal to recalibrate or replace the burrs.
Troubleshooting Grind Problems After Calibration
If shots still run wrong after calibrating, the grinder may not be the problem. Work through this decision path:
- Shot runs fast and tastes sour: grind finer, one click at a time.
- Shot runs slow and tastes bitter: grind coarser.
- Shot channels or sprays: check your distribution and tamp, not just the grind.
- Grind looks uneven: clean the burrs and check for wear.
- Same setting, different result: purge old grounds from the chute.
Retention matters more than most people think. A few grams of stale grounds left in the chute will skew your next shot. Purge a small amount before you pull.
If channeling keeps happening even after you adjust grind, the fix may be puck prep rather than the setting. Our guide on how to prevent channeling in espresso walks through the steps.
Pairing a Calibrated Grinder With Fresh Fairwood Coffee
A calibrated grinder rewards fresh beans. Stale coffee tastes flat no matter how well the grinder is set, so the bean matters as much as the grind.
Fairwood Coffee delivers artisan blends and premium branded gear to your door with fast, automated fulfillment, so there is no inventory to manage.
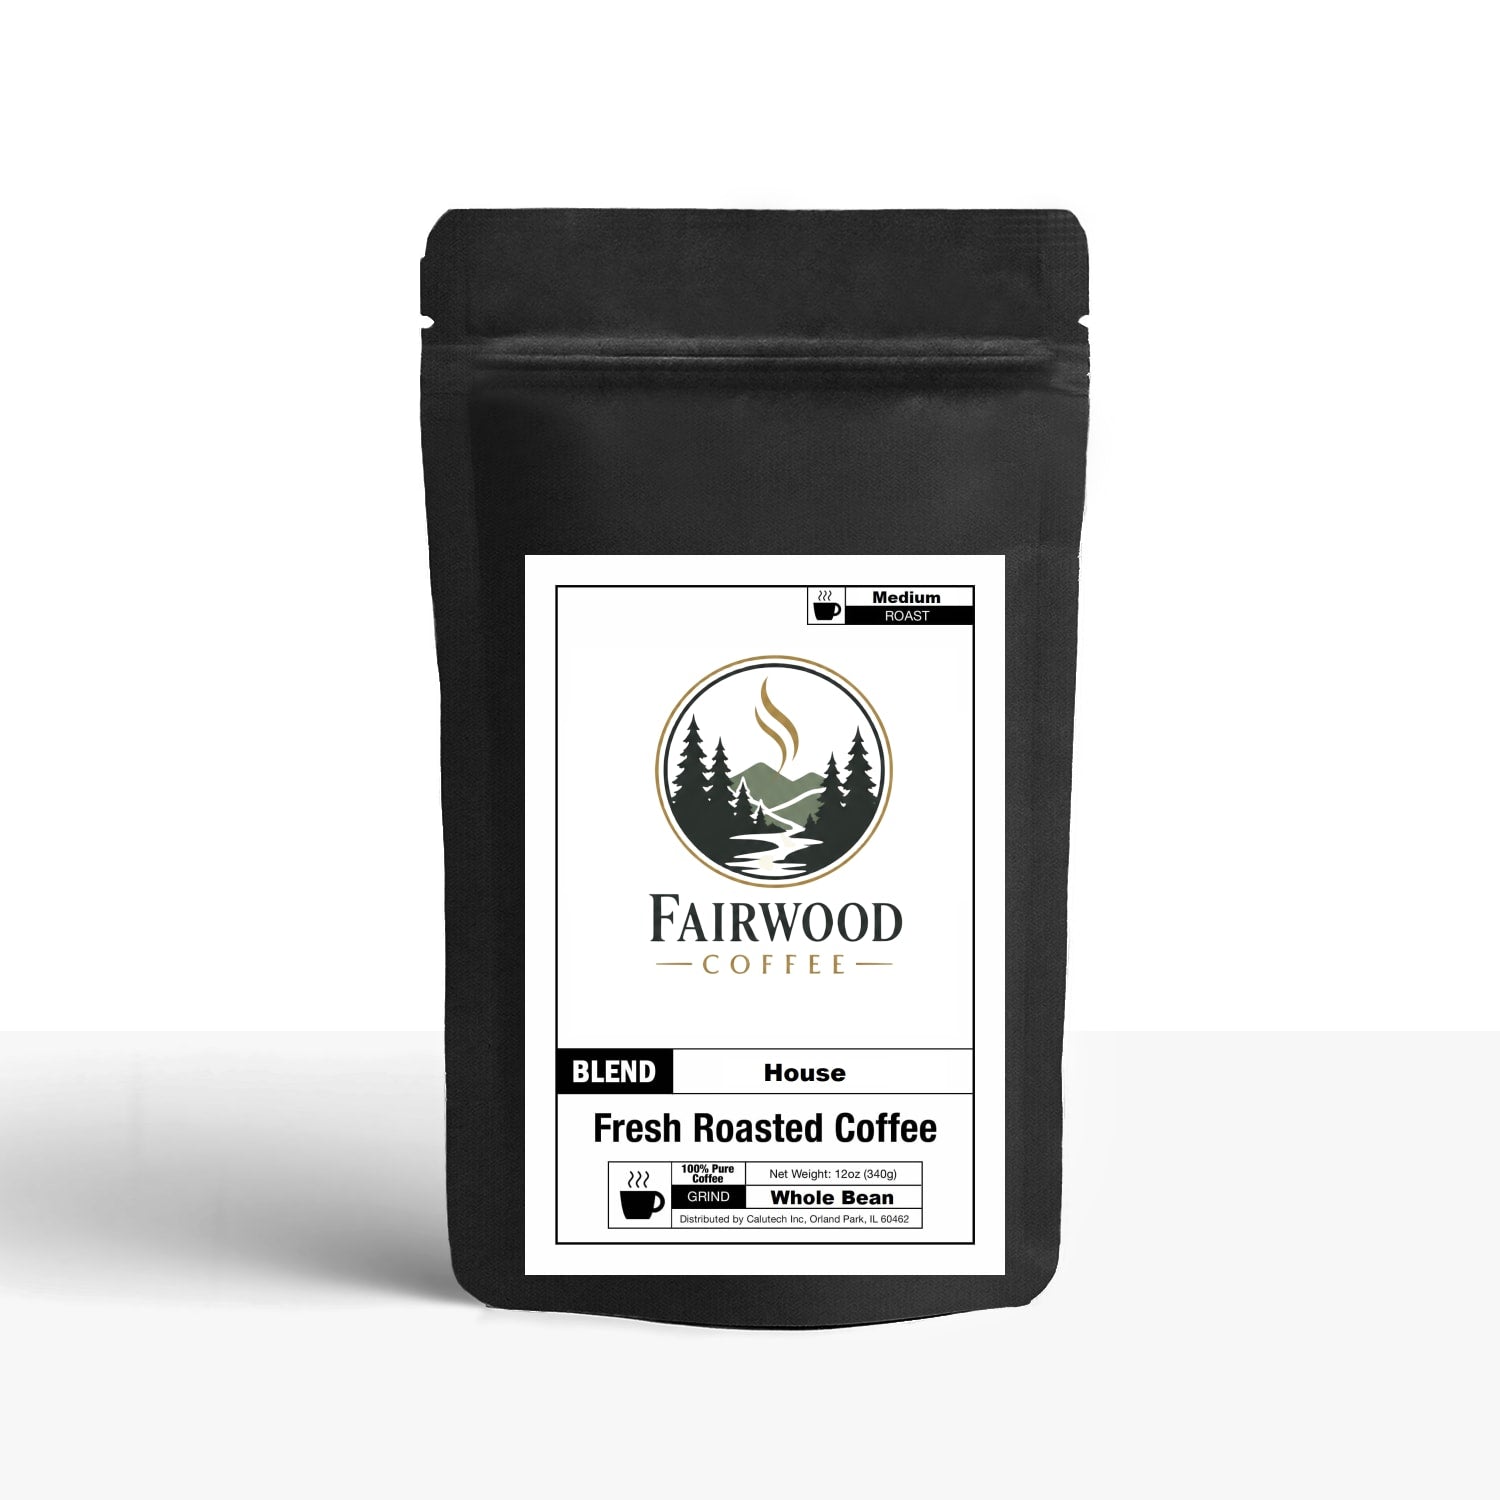
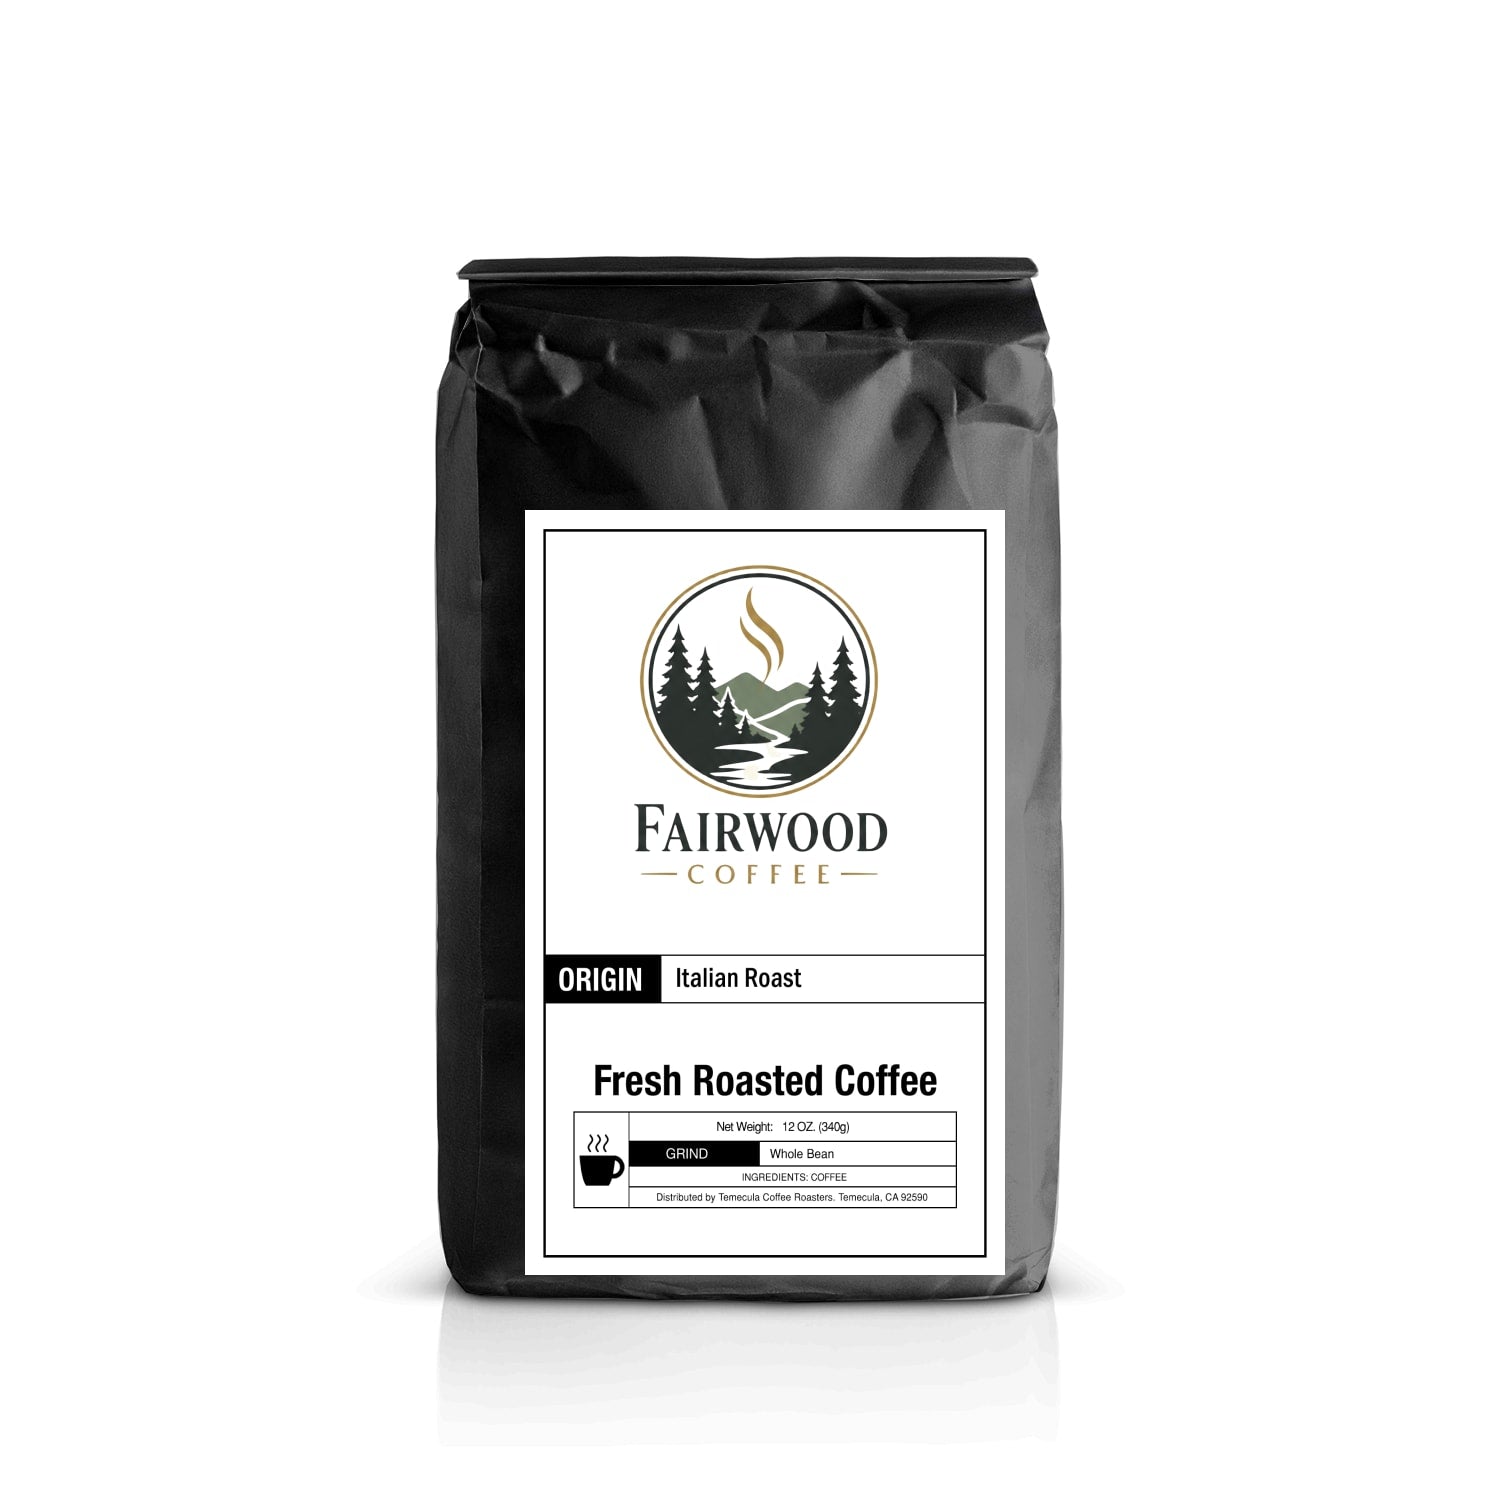
For espresso, a darker roast holds up well to fine grinding. Try our Italian Roast for a bold, syrupy shot. For a balanced everyday cup across brew methods, our House Blend is the go-to.
Start with a bean you trust, calibrate once, and adjust from there. That is the whole game.
Getting a grinder perfectly dialed in takes patience, and the right beans make every adjustment easier to judge.
Frequently Asked Questions
How do I find the zero point on a burr grinder?
Unplug the grinder and empty the hopper. Turn the adjustment collar finer until you hear or feel the burrs just touch, then back off a quarter turn. That contact is your zero point. Mark the collar position so you can return to it after cleaning or burr replacement. Never force the collar past the touch point, because doing so can damage the burr edges.
How many times do you need to calibrate a coffee grinder?
Calibrate when you first set up the grinder, after cleaning the burrs, after replacing burrs, and whenever shots start running faster or slower than usual without a recipe change. For home use, a quick zero-point check every two to three months is enough. Busy setups may need a check monthly. Recalibrating after every bag of beans is unnecessary unless the roast level changes dramatically.
Should I recalibrate my grinder when I change coffee beans?
You do not need to recalibrate the zero point for a new bag of beans, but you will likely need to adjust the grind setting. Darker roasts often need a slightly coarser setting, while lighter roasts may need a finer one. Change one variable at a time and pull a test shot after each adjustment so you can taste the difference clearly.
How can I tell if my coffee grind is too fine or too coarse?
For espresso, a shot that runs in under 20 seconds and tastes sour usually means the grind is too coarse. A shot that chokes the machine or runs past 35 seconds and tastes bitter means the grind is too fine. For pour-over, a brew that drains very slowly and tastes harsh suggests too many fines, while a watery, fast-draining brew points to a grind that is too coarse.
